I bought 2 Chalkboard Mirrors from a friend and redid them so they would go better in my house.
For those of you who follow me on Instagram and saw this picture:

This is the resulting project:)

I have this hanging over my dresser and will be using it for {Memory Verses} and quotes. It makes me so happy to wake up to this every morning...I feel like it helps to start my day off right.
This is what they looked like before:
(There were two, but I only took pictures of one)

I loved the color and the metallic sheen in the paint(hard to tell here), but the chalkboard paint was flaking so I decided to redo them.

I flipped it over and saw that it was attached with screws, so I took it apart to really get it nice and clean. I sanded the frame of any rough areas and paint drips, and then tried to do the same on the chalkboard.
DUDE! Getting Chalkboard paint off of a mirror is no joke. I sanded, I scrubbed, I scraped and finally I used paint thinner and then scrapped some more. It was a total pain, and I blame my dad.
Thank you Dad for teaching me that "If something is worth doing, it's worth doing RIGHT."
Boo.
I spent hours scraping Chalkboard paint so that I could have a smooth surface to
reapply CHALKBOARD PAINT.
I spent hours scraping Chalkboard paint so that I could have a smooth surface to
reapply CHALKBOARD PAINT.
Not gonna lie, it was worth it in the end. Boo again for Dad always being right;) Ha ha ha! Love you DAD!

I did a couple coats of spray paint with the leftover paint from my Garage Sale Owl on one of the frames (Rust-Oleum Satin Lagoon) and Rust-Oleum Sunburst Yellow on the other one.

The yellow one is for my daughters slow and steady room makeover.

I did a couple coats of Chalkboard Spray paint on the newly scraped mirrors and then let them dry for over 24 hours. Once they were dry it was time to "prime them",
which is just rubbing chalk all over to get the surface ready.
This was by far the worst part of the whole project.
Yes, even worse than the hours of scraping paint.
I HATE the sound of scraping chalk and I shuddered the whole time.
which is just rubbing chalk all over to get the surface ready.
This was by far the worst part of the whole project.
Yes, even worse than the hours of scraping paint.
I HATE the sound of scraping chalk and I shuddered the whole time.

*Shudder*

Here is Brooklyn's finished Chalkboard.
I love the bright shiny color and how it contrasts with the Chalkboard paint.

And here's the one for me. I'll bet the color choice is not at all predictable to those of you who know me;) I'm kind of obsessed.

I put this verse up for Valentines Day:)

What are some of your favorite short verses?


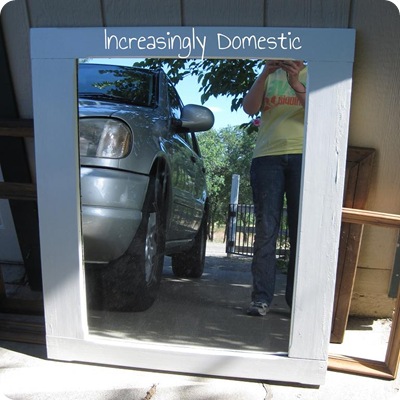 Okay, back to the mirror.


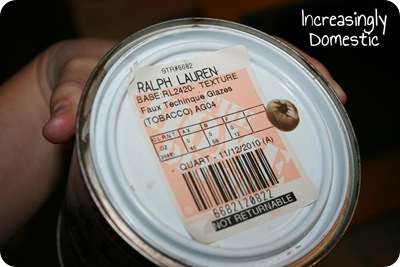
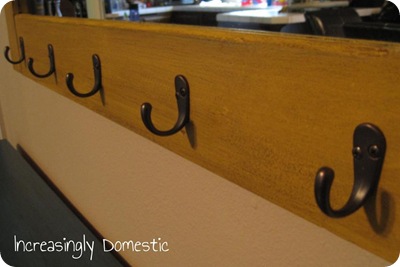 I found some hooks with an oil-rubbed bronze finish at Target and had the husband put them on. I could have done this myself, but I am such a freak with the measuring that I just delegated. I’m learning! ;)
 This weekend we finally remembered to pick up some hardware to hang the mirror and my husband hung it up for me…not once, but twice! Yep. I have some holes to fill. The poor guy got it all hung up where I asked him too, only to look over at me making an “I hate it” face. Ha!
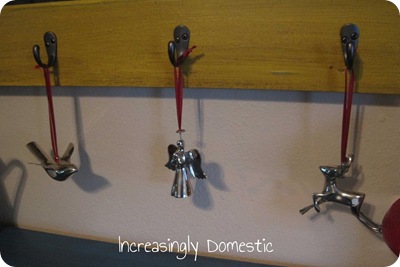
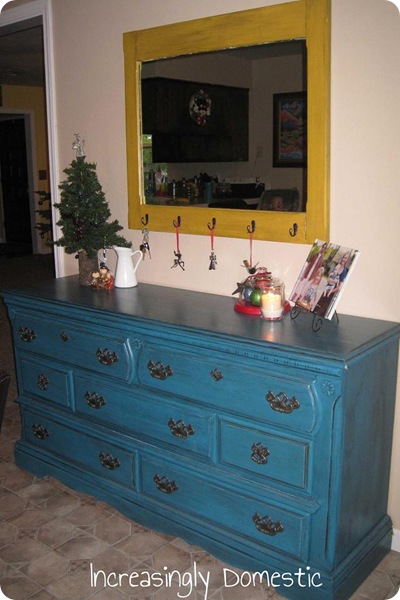 Dressed up a little for Christmas…I LOVE the colors together!